A comprehensive course in digital orthodontics and clear aligners workflow

A complete digital orthodontic workflow — from biomechanics and virtual treatment planning to in-house production, directly 3D-printed aligners, and remote practice.

90Lessons
9Modules
10HOMEWORK ASSIGNMENTSWITH PERSONAL FEEDBACK
Ongoing course updates
Detailed tooth movements protocol guidelines
Software and setup support
Useful digital materials
Curated research library

9 modules. 90 video lessons. One complete end-to-end workflow.

[ expand module for details ]
  • 1.1Maestro3D Interface
  • 1.2Creating a New Patient & Segmentation
  • 1.3Toolbar & Hotkeys in the Virtual Setup Screen
  • 1.4Superimposition of 3D Models
  • 1.5Importing and Exporting .m3d Files
  • 1.6Workflow Ergonomics
  • 1.7Model Base
  • 1.8Converting DICOM to STL
  • 1.9Adding a Virtual Tooth
  • 1.10Virtual Posterior Space Closure
  • 1.11Virtual Anterior Space Closure
  • 2.1Fundamentals of Aligner Biomechanics
  • 2.2Limitations, Predictability & Refinements
  • 2.3Case Selection for Aligner Treatment
  • 2.4Aligners in Combination with Other Orthodontic Appliances
  • 2.5Biomechanics of Distalization with Aligners
  • 2.6Classical Sequential 50/50 Distalization Protocol
  • 2.7Distalization with Mini-Screws
  • 2.8Mandibular Distalization without Additional Anchorage
  • 3.1Introduction. Fundamentals. Common mistakes.
  • 3.2Incisors: Labio-Lingual Movement
  • 3.3Incisors: Mesio-Distal Movement
  • 3.4Incisor Rotation
  • 3.5Incisor Extrusion
  • 3.6Incisor Intrusion
  • 3.7Canines: Labio-Lingual Movement
  • 3.8Canines: Mesio-Distal Movement
  • 3.9Canine Rotation
  • 3.10Canine Extrusion
  • 3.11Canine Intrusion
  • 3.12Premolars & Molars: Labio-Lingual Movement
  • 3.13Premolars & Molars: Mesio-Distal Movement
  • 3.14Premolars & Molars: Rotation
  • 3.15Premolars & Molars: Extrusion
  • 3.16Premolars & Molars: Intrusion
  • 3.17IPR
  • 3.18Simple Crowding Case
  • 3.19Multi-Layer Crowding Case
  • 3.20Diastema Case
  • 4.1Laboratory Equipment & Manufacturing Workflow
  • 4.2Print Preparation in ChiTuBox
  • 4.3Thermoplastic Materials for Aligners
  • 4.4Resins for Direct Aligner Printing
  • 4.5Blocking Out Undercuts
  • 4.6Model Refinement before Thermoforming
  • 4.7Trimming Aligners after Thermoforming
  • 4.8Elastic Cutouts
  • 4.9Esthetic Pontics in Aligners
  • 5.1Initial Diagnostic Records
  • 5.2Bonding Attachments
  • 5.3Adhesive Materials for Attachments
  • 5.4Performing IPR
  • 5.5IPR Instruments
  • 5.6Aligner Delivery Kit
  • 5.7Aligner Pliers
  • 5.8Tooth Rotation Using Auxiliaries
  • 5.9Extrusion with Elastics
  • 5.10Mesio-Distal Tooth Movement Using Auxiliaries
  • 5.11Managing Poor Aligner Fit
  • 5.12Diagnostic Setups
  • 6.1Software Settings
  • 6.2Custom Bracket Library
  • 6.3Case Setup — Upper and Lower Arches
  • 6.4Extraction Case Setup
  • 6.5Transfer Tray Design
  • 6.6Working with a Single-Arch Scan
  • 6.7Adding CT Data
  • 6.8Segmenting the Tray within the Software
  • 6.9Pre-Extraction Scan
  • 6.10Project Export
  • 6.11Transfer Tray Printing
  • 6.12Laboratory Refinement of the Transfer Tray
  • 7.1Building a Remote Orthodontic Career
  • 7.2Computer-Based Orthodontic Services
  • 7.3Aligner Design and Printing
  • 7.4Consulting, Digital Products & Sales
  • 7.5How to Find Clients
  • 8.1Case Import
  • 8.2Interface Customization
  • 8.3Adding Bone Data
  • 9.1Distalization + Derotation of Canines and Incisors
  • 9.2Severe Crowding of Lower Incisors
  • 9.3Mild Incisor Crowding
  • 9.4Crowding of Anterior Teeth
  • 9.5Simultaneous Distalization and Anterior Tooth Movement
  • 9.6Major Incisor Rotation Using Round-Tripping
  • 9.7Incisor Angulation + Distalization
  • 9.8Distalization with Four Mini-Screws
  • 9.9Distalization and Canine Rotation with Elastics
  • 9.10Classical Maxillary Distalization

What you'll get after the course

Create aligner treatment plans independently

Build complete digital setups without outsourcing and maintain control over every stage of treatment planning.

Apply biomechanics with confidence

Understand how and why teeth move, and use biomechanics to plan more predictable treatment outcomes.

Master digital indirect bonding

Plan bracket positions, design transfer trays, and preview the intended result before bonding.

Your own lab

You know how to organize printing, thermoforming, and quality control in-house.

Directly 3D-printed aligners

Learn the complete direct-print workflow to shorten production times and reduce manufacturing costs.

Remote orthodontic workflow

Work from anywhere in the world. More time for life, not just the chair.

Digital orthodontics without borders

Modern digital orthodontics lets you work from anywhere in the world. Your entire practice fits in one laptop.
7+
Years remote
113
Countries visited
100%
Digital workflow
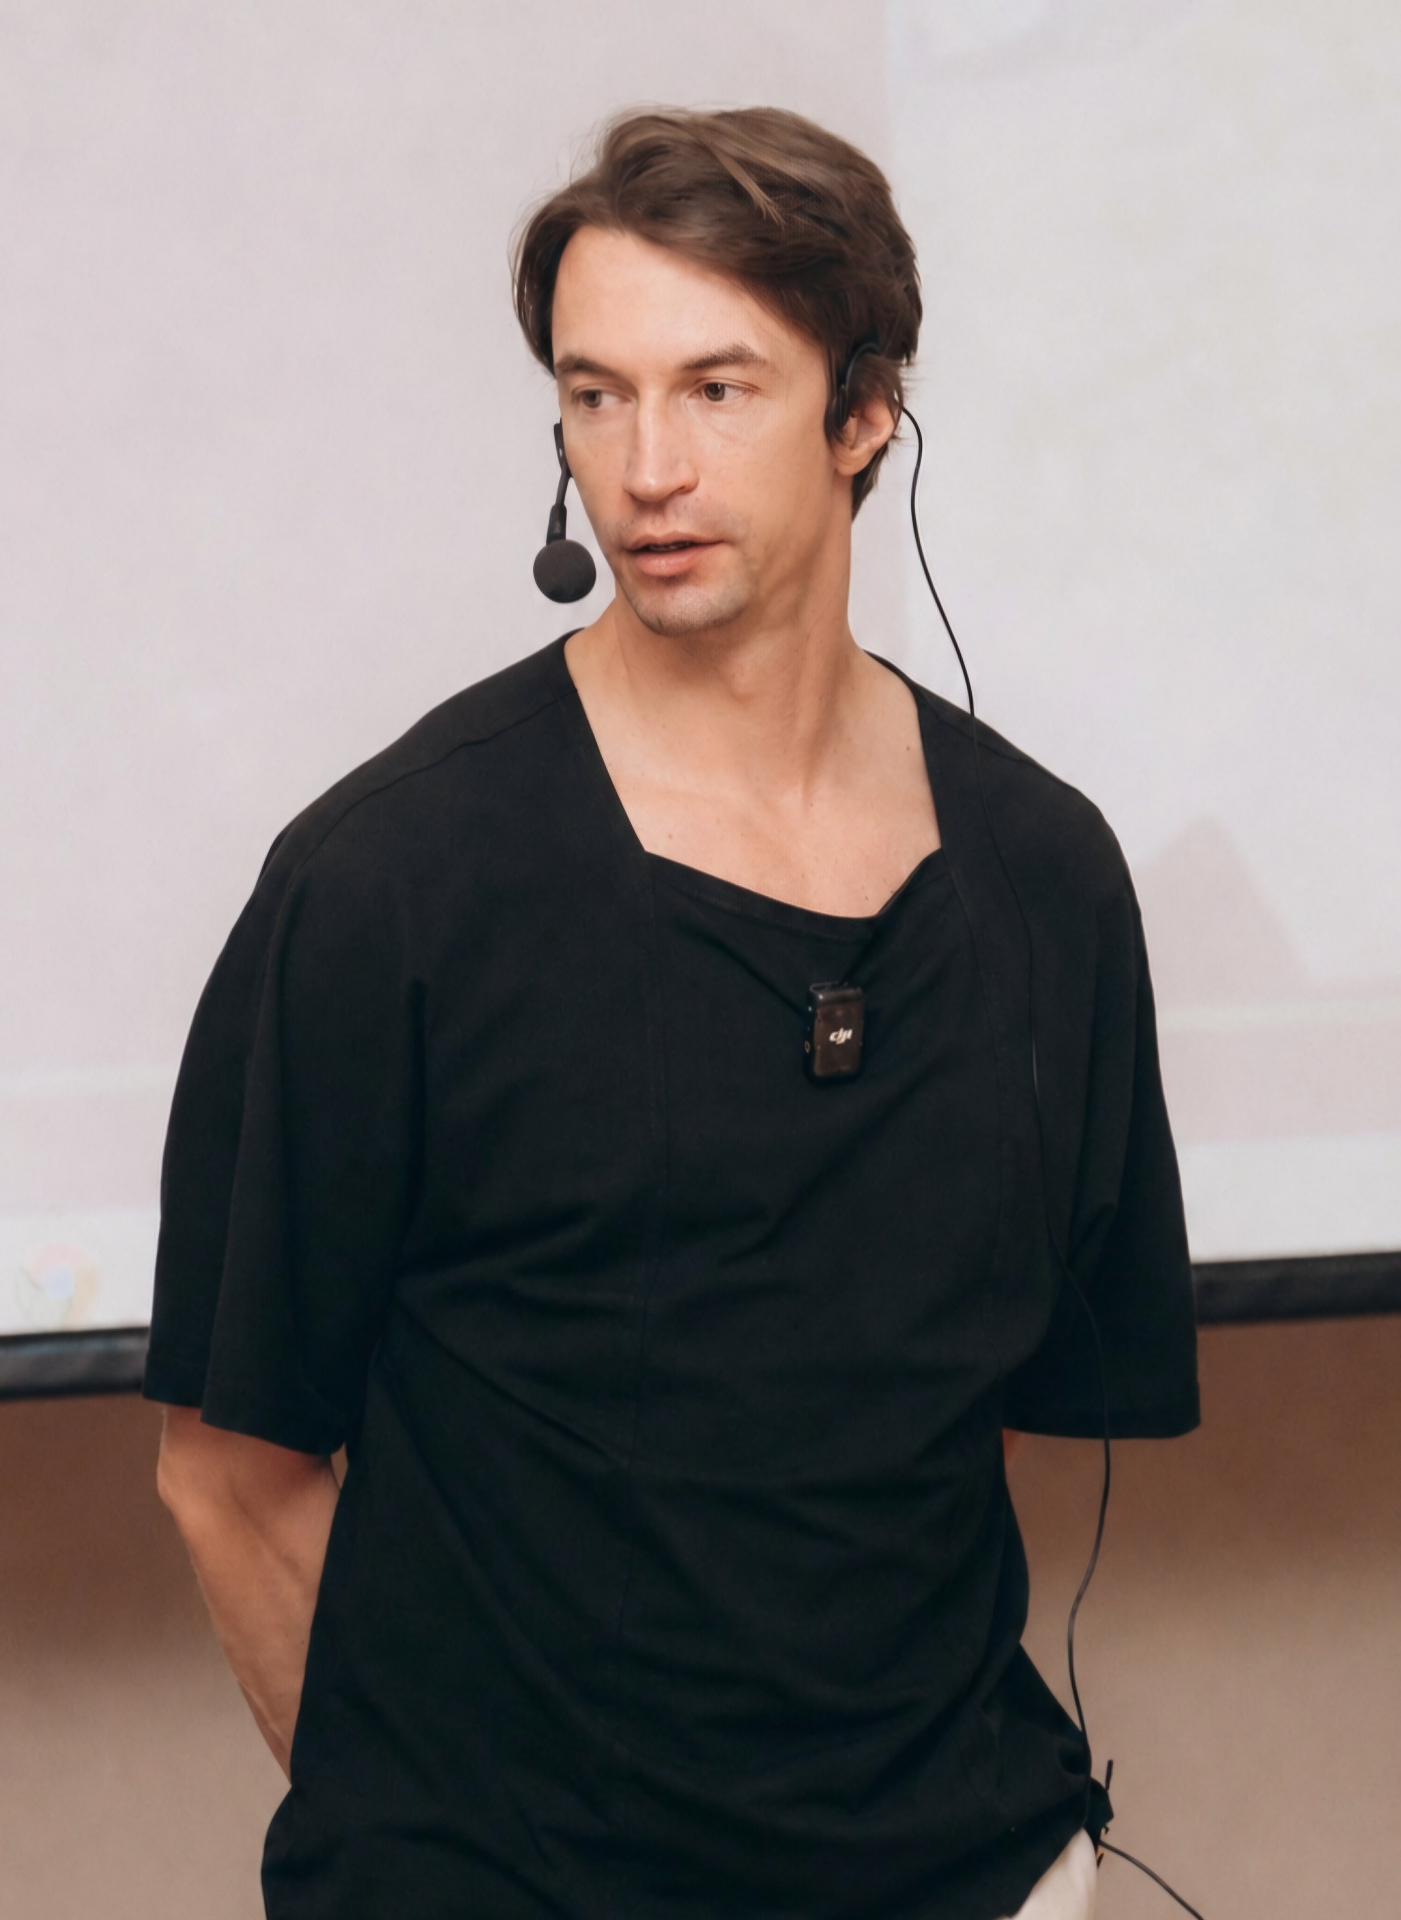
Mikhail Shishkin — course author
About the author

Mikhail Shishkin — orthodontist who built a fully remote practice.

He creates effective digital aligner setups, runs his own lab, and teaches colleagues worldwide to work efficiently in digital orthodontics.

8 years
Clinical practice
2013
Own aligner brand
2500+
Clinical cases
40+
Countries taught

Frequently asked questions

The course is hybrid. You watch recorded lessons at your own pace, complete assignments, submit them for review, and get feedback. Throughout the course, you discuss questions with the author.
The program includes 90 video lessons across 9 modules: software workflow, aligner biomechanics, tooth movement protocols, aligner laboratory, clinical part, bracket transfer trays, remote orthodontics, VEER dental viewer, and case reviews.
Yes, the amount of feedback depends on the chosen bundle. Bundle 1 includes text chat with the author, discussion of questions, and homework review. Bundle 2 adds review of your own virtual setups and 2 hours of online calls with the course author.
A modern mid-range laptop or desktop computer with internet access is sufficient for most course tasks. For smoother performance in 3D software, we recommend at least 16 GB of RAM and an NVIDIA RTX graphics card. If you plan to set up your own laboratory, we also provide a list of recommended scanners, 3D printers, and thermoforming machines.
Yes, it is. We will provide installation files for all software used in the course.
Yes. The training is built from basics to more complex clinical and lab stages.
No. We start with the Maestro3D interface and progressively move to complex setups. No CAD experience is required.
Each assignment is reviewed personally by the course author. You receive personalized comments and, if needed, a one-on-one call.
Course access is provided for 6 months from payment. It can be extended if needed.
Yes. The course is structured so that practicing orthodontists get ready protocols, residents get a foundation, and technicians get the full digital process from scan to finished aligner.

Go digital — and take your freedom

One course that replaces years of scattered experience. A complete protocol proven on thousands of cases.

Individual modules price

1. Software workflow: From Model Import to Tooth Movement129 USD
2. Aligner Biomechanics249 USD
3. Tooth Movement Protocols249 USD
4. Laboratory129 USD
5. Clinical Part199 USD
6. Bracket Transfer trays199 USD
Bundle 1
1030 USD
6 months of access • Installment payments available
  • Access to all video lessons for 6 months
  • Homework assignments with personalized review
  • Text-based feedback from the course author
  • Required software: Maestro 3D, Exocad, 3Shape Ortho
  • Tooth movement protocol chart
  • Curated materials: scientific articles, forms, and documents
Buy Bundle 1
Bundle 2
1290 USD
6 months of access • Installment payments available

Includes everything in Bundle 1, plus:

  • Treatment plan review package
  • Review of virtual treatment setups unrelated to course homework (up to 30 setups over 6 months)
  • 2 hours of live online consultations with the course author
Buy Bundle 2